[NEXUS] Nexus Repository maven/npm dependency bulk upload (for offline 폐쇠망 환경)
private nexus repository를 통해서 dependency를 가져올때, 인터넷이 되는 환경에서는 proxy repository를 사용하면 간단히 dependency를 가져올 수 있다.
하지만 망분리된 오프라인 환경에서 nexus를 사용하면 dependency를 오프라인 환경에 반입해서 nexus에 업로드 해야한다.
이 글은 망분리된 환경에 dependency업로드를 위해 파일준비 및 일괄 업로드 방법을 공유하려 합니다.
아래에 수행된 shell, 소스는 https://github.com/sehoone/nexus-utils 에 있습니다.
1. maven
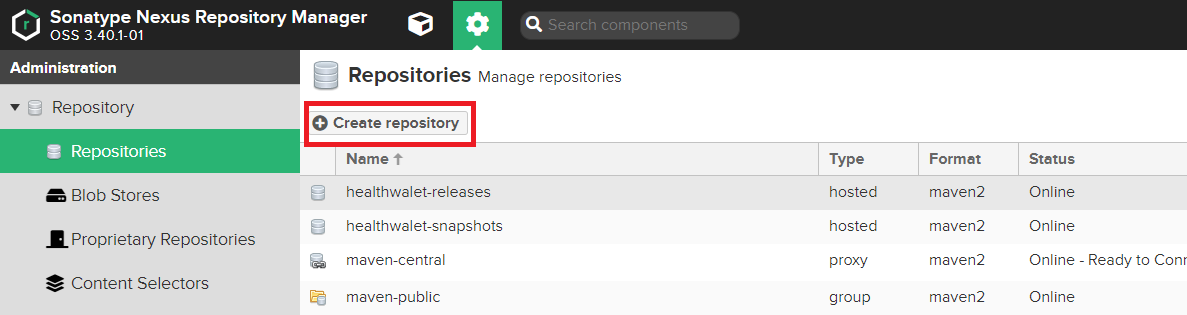
1-1. maven repository 생성
-
admin config(왼쪽상단 톱니바퀴) > Repository(왼쪽 네비게이션) > Create repository
-
maven2(hosted) 선택 > repository 정보 입력. 각각 의미 있는 설정값이지만 이글의 목적과는 관련없으니 name(ex. test-maven-hosted), blob store(default) 정보만 입력

1-2. 일괄 업로드 shell 실행
- 로컬 레파지토리 디렉토리에서 shell을 실행하여 일괄 upload. 폐쇠망 환경에서 디펜던시 업로드를 위해서는 로컬 레파지토리와 shell을 사용하여 일괄업로드
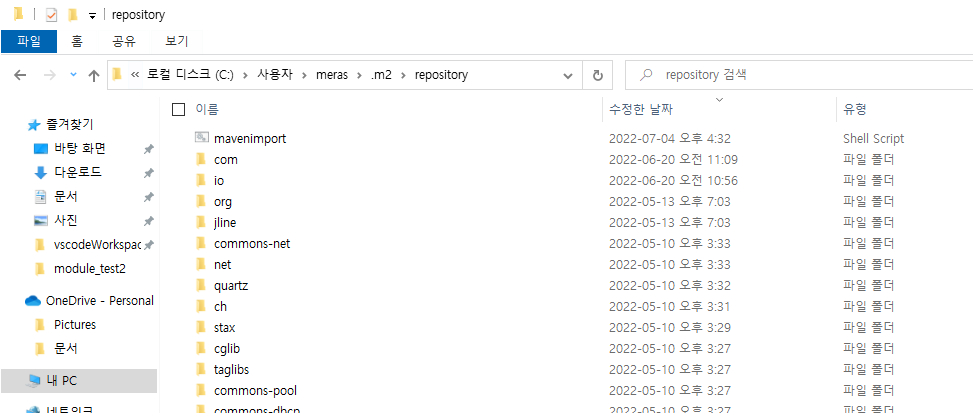
#!/bin/bash # maven bulk import. https://github.com/sehoone/nexus-utils/blob/main/bulk-import-lib/mavenimport.sh # 사용법_repository에 해당 파일 복사 후 실행(window는 명령어에서 './' 제거). ./mavenimport.sh -u admin -p admin123 -r http://localhost:5001/repository/maven-hosted # Get command line params while getopts ":r:u:p:" opt; do case $opt in r) REPO_URL="$OPTARG" ;; u) USERNAME="$OPTARG" ;; p) PASSWORD="$OPTARG" ;; esac done find . -type f -not -path './mavenimport\.sh*' -not -path '*/\.*' -not -path '*/\^archetype\-catalog\.xml*' -not -path '*/\^maven\-metadata\-local*\.xml' -not -path '*/\^maven\-metadata\-deployment*\.xml' | sed "s|^\./||" | xargs -I '{}' curl -u "$USERNAME:$PASSWORD" -X PUT -v -T {} ${REPO_URL}/{} ; - 위의 shell ‘mavenimport.sh’ 을 로컬 maven repository 에 복사(ex. C:/Users/{로컬pc사용자명}/.m2/repository/)
- 실행: ./mavenimport.sh -u {nexusId} -p {password} -r {respositoryUrl} (ex. ./mavenimport.sh -u admin -p open1404! -r http://localhost:5001/repository/test-maven-hosted/)
- trouble shooting: 라이브러리관리를 gradle을 사용을 하는경우는 local 라이브러리 디렉토리 구조가 달라서 위와같이 진행하면 안됨. gradle을 maven으로 수정하여 라이브러리를 받아야함.
2. npm
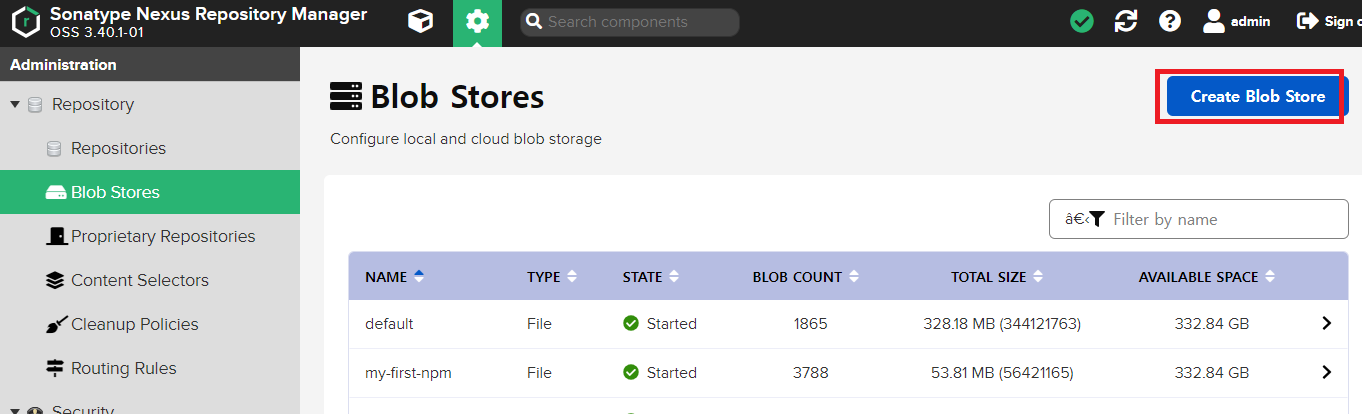
2-1 npm blob 생성
- admin config(왼쪽상단 톱니바퀴) > Blob Stores(왼쪽 네비게이션) > Create Blob Store > type file 선택 > 생성
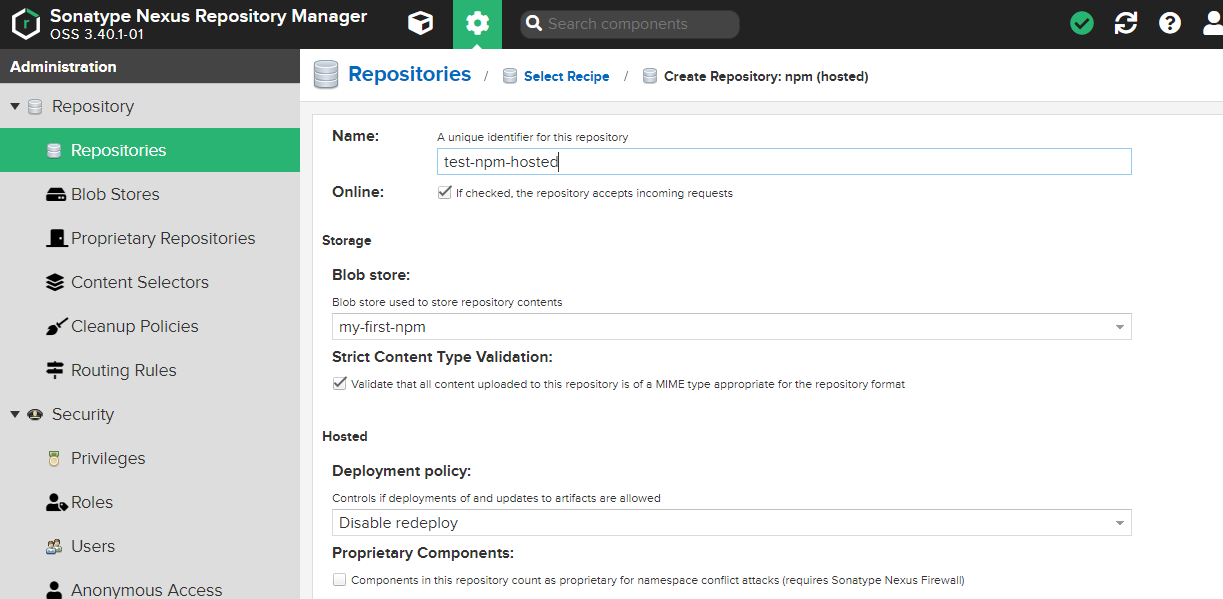
2-2 npm repository 생성
-
admin config(왼쪽상단 톱니바퀴) > Repository(왼쪽 네비게이션) > Create repository
-
npm(hosted) 선택 > repository 정보 입력. name(ex. test-npm-hosted), blob store(default) 정보 입력
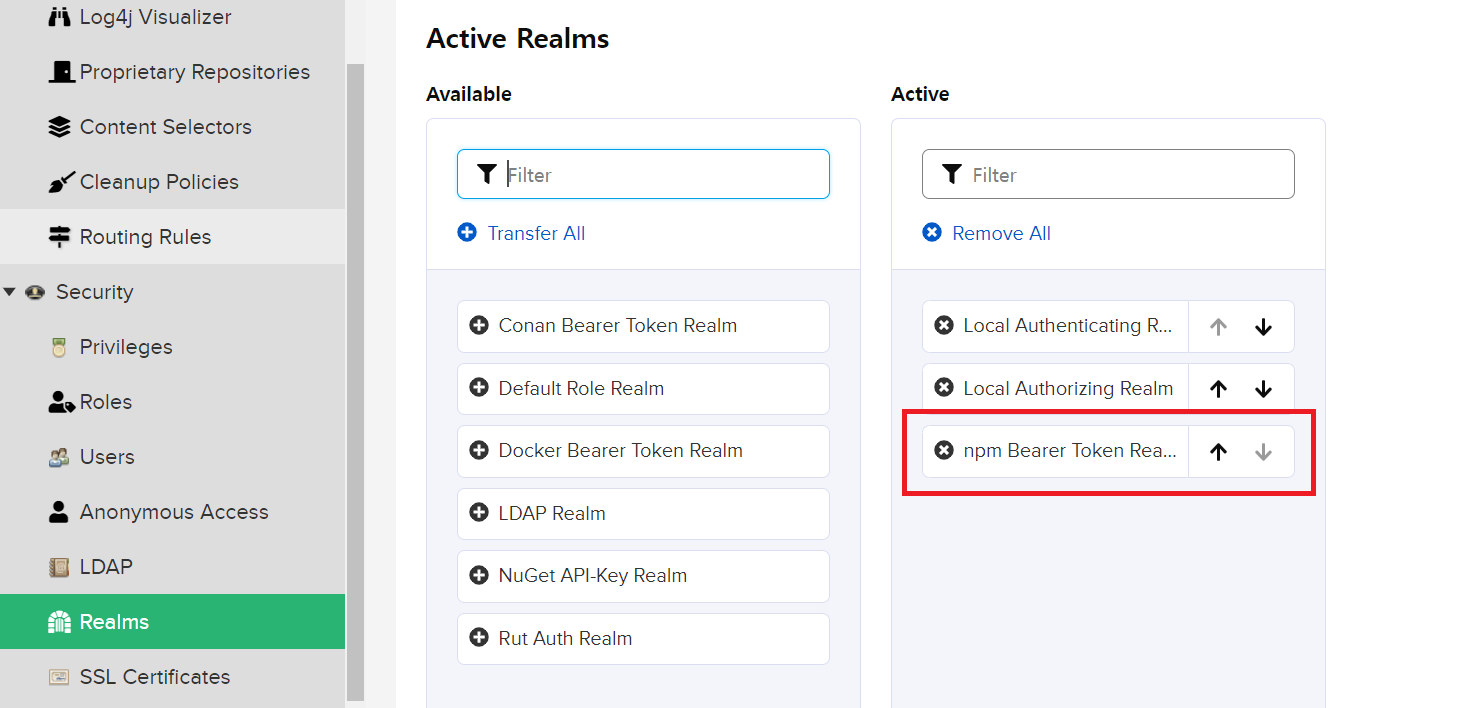
2-4 nexus npm publish Realms 추가
- admin config(왼쪽상단 톱니바퀴) > Realms(왼쪽 네비게이션) > npm Bearer Token Realm 추가
2-5 npm dependency pack
- node_module을 npm dependency 업로드를 위해서 tgz파일로 packing. npm dependency는 1개의 라이브러리 내부에서 dependency를 가져오는 경우가 있어서 일괄 tgz로 만드는 작업이 필요합니다.
- https://github.com/sehoone/nexus-utils/tree/main/node-module-pack-all
- 위의 레파지토리를 clone 받아서 아래의 경로 수정하여 ‘yarn run start’ 를 실행
const NODE_MODULES = "node_modules"; const BASE_PATH = "/dev/temp"; // packing 하려는 원본경로(BASE_PATH + NODE_MODULES 로 경로값이 합쳐집니다.) const TARGET_PATH = "/dev/temp/module_test2"; // packing한 tgz파일이 생성될 target경로 - 실행: yarn run start
2-6 일괄 업로드 shell 실행
- packing 디렉토리에서 shell을 실행하여 일괄 upload. 폐쇠망 환경에서 디펜던시 업로드를 위해서는 packing디렉토리와 shell을 사용하여 일괄업로드
#!/bin/bash # maven bulk import. https://github.com/sehoone/nexus-utils/tree/main/bulk-import-lib # 사용법_npm tgz파일 디렉토리에 해당 파일 복사 후 실행. # 1. npm login --registry http://localhost:5001/repository/npm-hosted/ # 2. ./npmimport.sh -r http://localhost:5001/repository/npm-hosted/ # Get command line params while getopts ":r:k:" opt; do case $opt in r) REPO_URL="$OPTARG" ;; esac done find . -type f -not -path '*/\.*' -name '*.tgz' -exec npm publish {} --registry $REPO_URL \; - 위의 shell ‘npmimport.sh’ 을 2-3에서 생성한 TARGET_PATH 에 복사(ex. C:/dev/temp/module_test2/) 후 아래의 실행1/2 스크립트를 순서대로 입력
- 실행1: npm login –registry http://localhost:5001/repository/test-npm-hosted/
- 실행2: ./npmimport.sh -r http://localhost:5001/repository/test-npm-hosted/
3. 참고자료
- https://github.com/sonatype-nexus-community/nexus-repository-import-scripts
- https://dejavuhyo.github.io/posts/nexus-repository-library-bulk-upload/